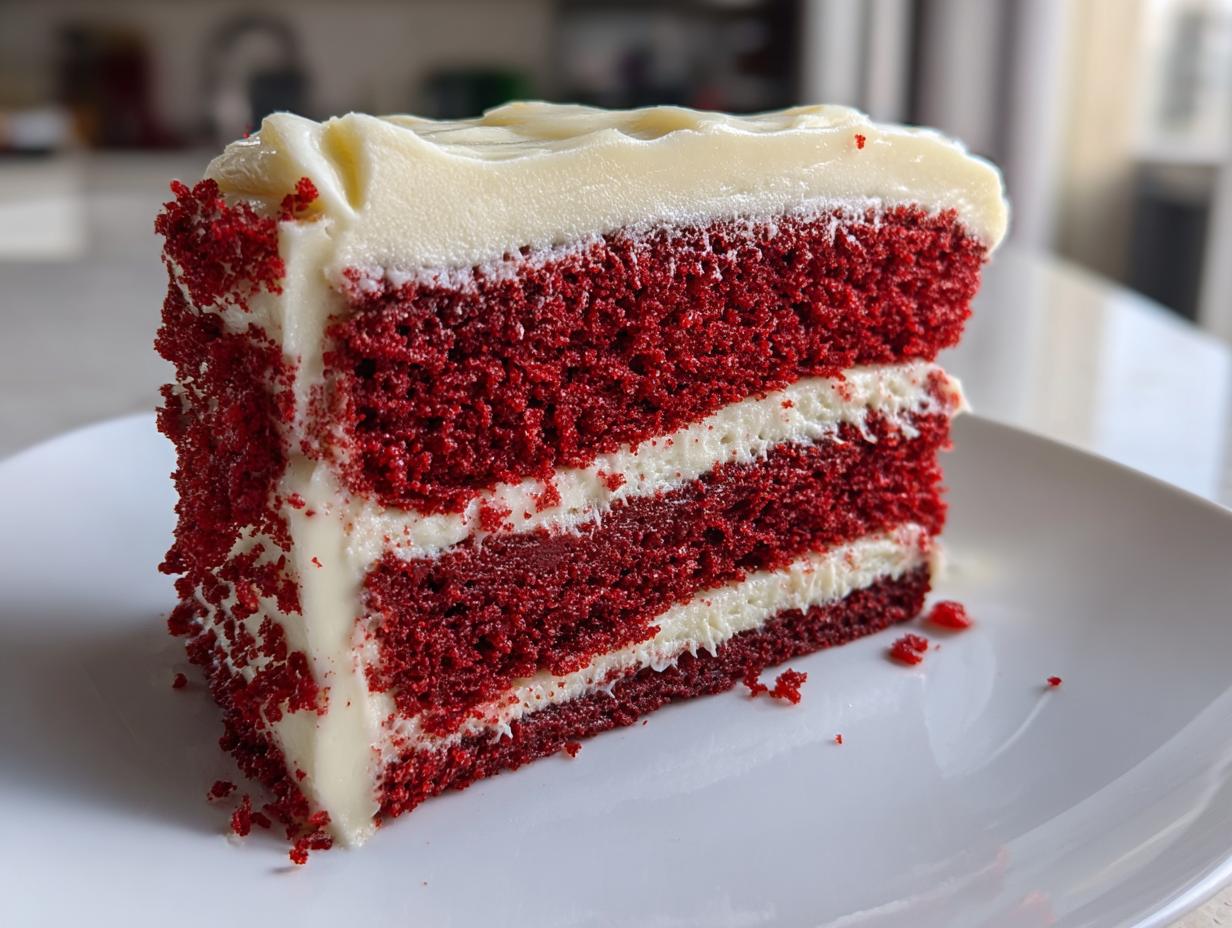
There’s something downright magical about slicing into a perfect red velvet cake – that deep crimson crumb against snowy white cream cheese frosting gets me every time. My enchanted red velvet cake recipe came to me the hard way – through years of trial, error, and one spectacular kitchen disaster involving blue food coloring (trust me, you don’t want that story).
This version? Absolute perfection. The hint of cocoa plays beautifully against the tangy buttermilk, while the vinegar (yes, vinegar!) works its quiet science in the background to create that signature velvet texture. I’ve served this cake at birthdays, anniversaries, and even convinced my niece it was made with real fairy dust. The secret’s in the balance – enough food coloring for drama but not so much you taste it, enough cocoa for depth but not so much it becomes chocolate cake in disguise.
What makes my heart sing is watching people’s eyes light up when they take that first bite. There’s a moment of surprise – it’s richer than they expected, more complex than the usual bakery versions. That’s when I know the magic worked again.
Why You’ll Love This Enchanted Red Velvet Cake Recipe
Oh, where do I even begin? This isn’t just any red velvet cake – it’s the kind that makes people stop mid-bite and say “Wow!” Here’s why it’s stolen hearts at every party I’ve brought it to:
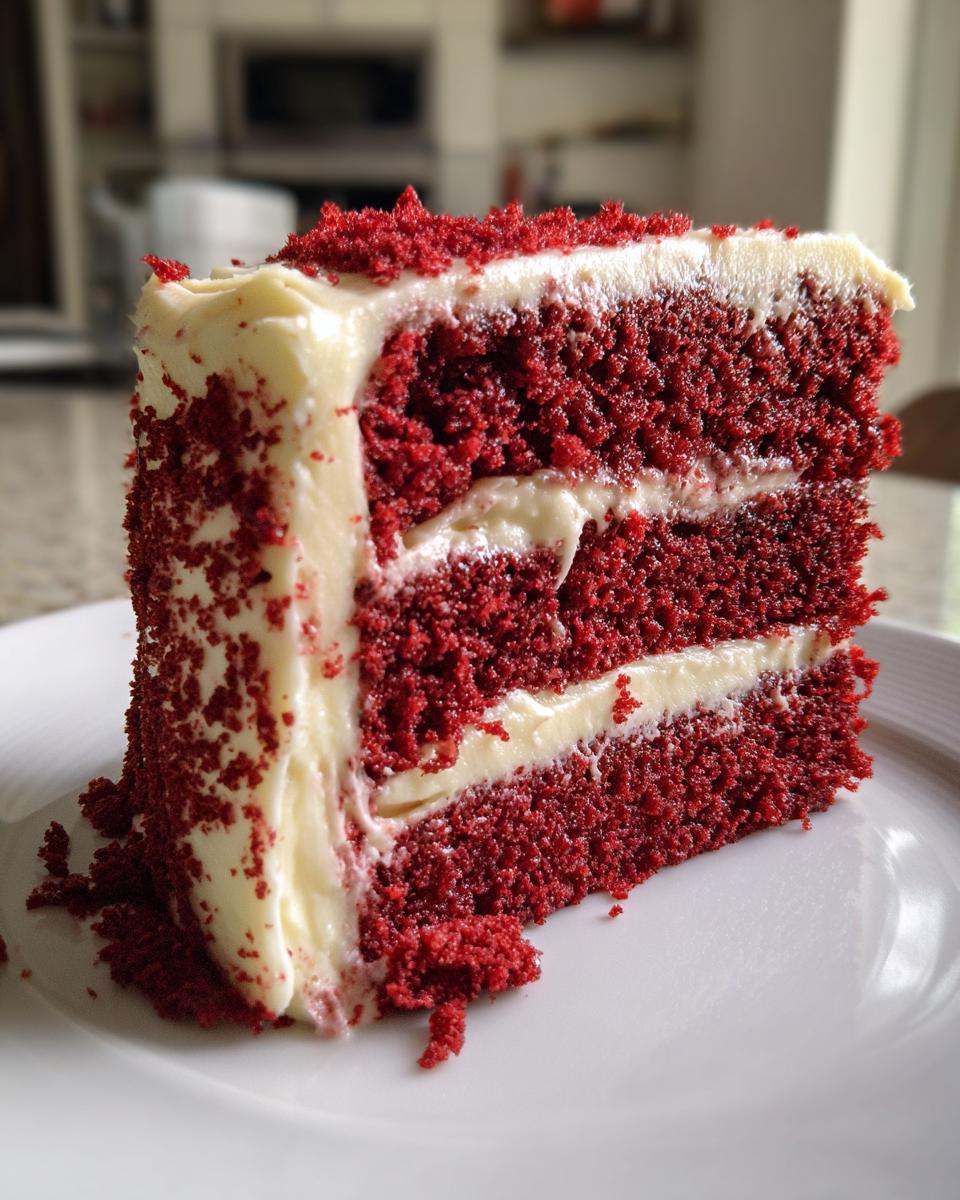
- That rich, velvety crumb – thanks to my secret buttermilk-vinegar combo that creates the softest, most luxurious texture you’ll ever taste
- A vibrant red color that looks straight out of a fairy tale (without tasting like food coloring!)
- The perfect hint of cocoa – just enough to add depth without overpowering the delicate flavor
- That cloud-like cream cheese frosting that balances the cake’s sweetness with just the right amount of tang
Seriously, this cake disappears faster than I can slice it. The last time I made it, my neighbor offered to trade me her famous banana bread recipe for it – that’s how good it is!
Ingredients for Enchanted Red Velvet Cake
Grab your apron and let’s talk ingredients – this is where the magic starts! I’m very particular about measurements (learned that the hard way after the “Great Sugar Incident of 2018”). Here’s exactly what you’ll need:
- 2 1/2 cups all-purpose flour – spooned and leveled, please! No packing it in
- 1 1/2 cups granulated sugar – regular white sugar works perfectly here
- 1 teaspoon baking soda – make sure your canister is fresh
- 1 teaspoon fine sea salt – it really does make a difference
- 2 tablespoons unsweetened cocoa powder – the cheap stuff actually works better here
- 1 1/2 cups vegetable oil – yes, cups! This keeps our cake moist for days
- 1 cup buttermilk – cold from the fridge is best
- 2 large eggs – at room temperature (pop them in warm water for 5 minutes if you forgot to take them out)
- 2 tablespoons red food coloring – I swear by gel for that storybook red color
- 1 teaspoon pure vanilla extract – the good stuff, not the imitation
- 1 teaspoon white vinegar – sounds weird, but trust me on this
See that vinegar? That’s our secret weapon – it reacts with the baking soda to give us that perfect rise and tender crumb. My grandmother would wink and call it “kitchen alchemy.”
Equipment You’ll Need
Before we dive into baking, let’s gather our magical tools – nothing fancy, just the basics that make this enchantment possible:
- Two 9-inch round cake pans – my trusty aluminum ones have seen many red velvet adventures
- Mixing bowls – one large, one medium (I always grab my favorite blue one first)
- Electric mixer – stand or handheld, either works beautifully
- Whisk and rubber spatula – for those last bits of batter
- Measuring cups and spoons – precision is key!
- Cooling rack – patience required here
That’s it! No fancy gadgets needed – just good old-fashioned baking tools and a whole lot of love.
How to Make Enchanted Red Velvet Cake
Alright, let’s make some magic happen! I’ve broken this down into simple steps so you can create cake perfection. Just follow along – I promise it’s easier than it looks.
Preparing the Batter
First, whisk together all your dry ingredients – that’s the flour, sugar, baking soda, salt, and cocoa powder. Get them nice and combined in one bowl. In another bowl, mix the wet ingredients: oil, buttermilk, eggs, food coloring, vanilla, and vinegar. Here’s my golden rule – pour the wet into the dry ingredients and mix just until combined. Overmixing is the enemy of tender cake! A few lumps are totally fine. The batter will be thick but pourable – and that vibrant red color will have you grinning like a kid.
Baking the Cake
Preheat your oven to 350°F (no cheating on this step!) while you grease and flour those cake pans. Divide the batter evenly – I like using a kitchen scale to be exact, but eyeballing works too. Bake for 30-35 minutes. The cakes are done when they pull away from the sides slightly and a toothpick comes out with moist crumbs (not wet batter). Oh, and resist the urge to open the oven door too early – we don’t want any cake collapses!
Cooling and Frosting
This is the hardest part – waiting! Let the cakes cool in their pans for 10 minutes, then turn them out onto a rack to cool completely. I mean completely – warm cake melts frosting into a sad mess. Once cooled, spread that luscious cream cheese frosting between layers and all over the top. Pro tip: do a thin “crumb coat” first, chill for 15 minutes, then do your final frosting layer for that picture-perfect finish.
Tips for the Perfect Enchanted Red Velvet Cake
After making this cake more times than I can count, I’ve picked up some tricks that make all the difference between “good” and “oh my goodness, what is this magic?” Here are my can’t-live-without tips:
- Gel food coloring is your best friend – that little bottle gives you rich color without watering down your batter like liquid food coloring does
- Level those domes! Use a serrated knife to gently slice off the rounded tops of your cakes – they’ll stack beautifully and you get bonus baker’s snacks
- The toothpick lie detector – test multiple spots in your cake because oven temps can vary. If one spot’s done but others aren’t, give it a few more minutes
- Room temp eggs matter – they incorporate better into the batter for that perfect velvety texture
- Make it the day before – the flavors deepen beautifully overnight (just frost it fresh)
Follow these, and you’ll have people begging for your recipe – just don’t tell them how easy it really is!
Ingredient Substitutions & Notes
Baking is all about improvisation – here’s how to adapt this recipe when your pantry rebels! No buttermilk? Make your own by stirring 1 tablespoon white vinegar or lemon juice into 1 cup milk (let it sit for 5 minutes until slightly thickened). In a real pinch, yogurt thinned with milk works too.
That vinegar in the ingredients list? It’s not a typo! The acid reacts with the baking soda to give our cake that signature lift and velvety texture. If you must substitute, lemon juice works similarly. And about the food coloring – gel gives that deep red hue without altering texture, but if you’re going natural, beet powder (about 3 tablespoons) can provide a lovely pinkish-red tint (just know it’ll taste slightly earthy).
One absolute rule: don’t skip the cocoa! Even those 2 tablespoons do important work balancing flavors. Your cake will still be tasty without it, but it won’t be true red velvet magic.
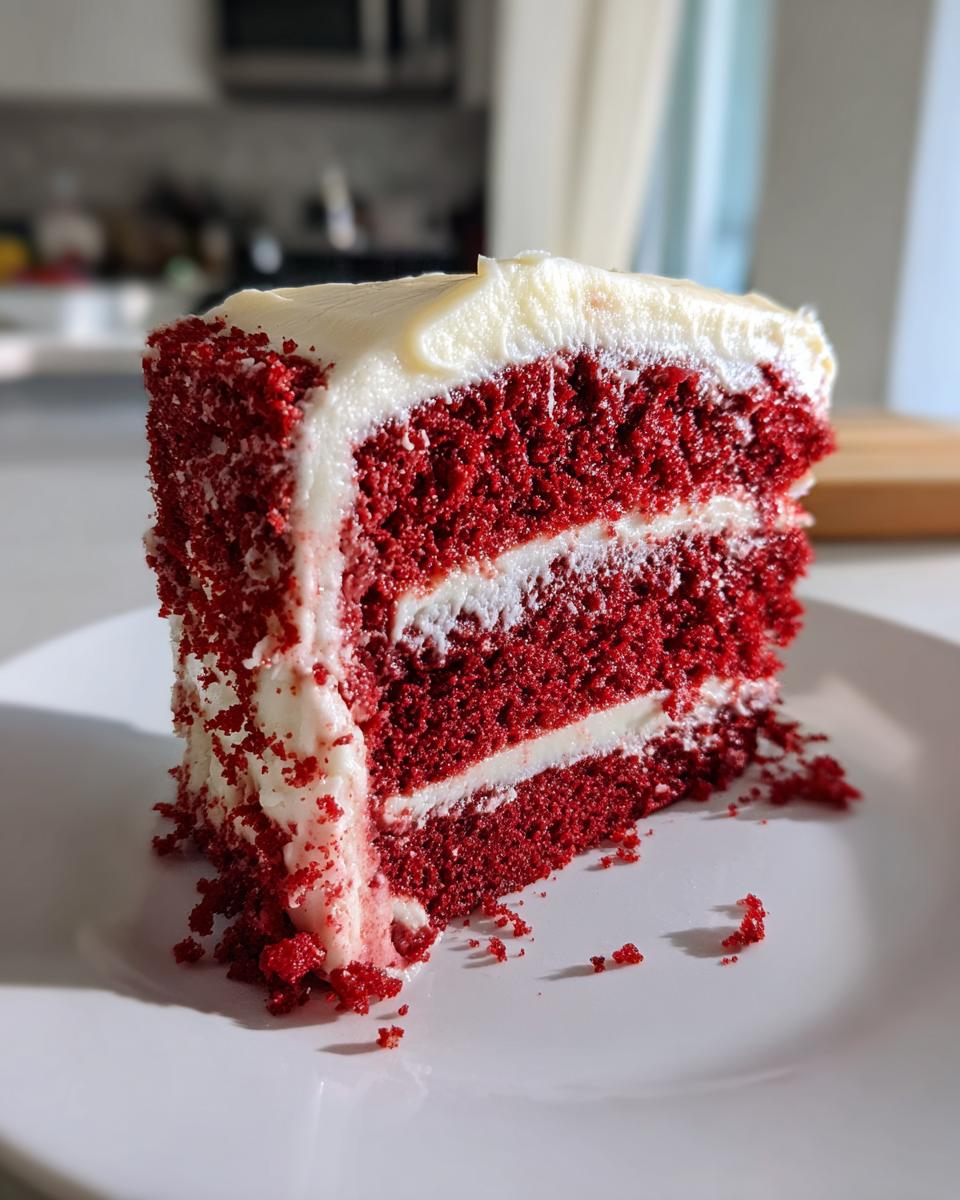
Serving and Storing Enchanted Red Velvet Cake
Oh, the glorious moment when you finally get to serve this beauty! I always let my cake sit at room temperature for about 30 minutes after frosting – that cream cheese frosting tastes dreamiest when it’s just slightly softened. Slice with a warm knife (run it under hot water and dry quickly) for picture-perfect pieces that’ll make your guests ooh and aah.
Now, about leftovers – if you somehow have any! Unfrosted cake layers stay fresh wrapped in plastic at room temperature for 2 days. Once frosted, it’s best kept in the fridge (covered loosely with foil or in a cake carrier) for up to 4 days. The cold makes the texture even more velvety! Just bring slices to room temp before serving – 15 minutes on the counter brings back that magical texture. Pro tip: never microwave red velvet cake – it dries out faster than you can say “seconds please!”
Nutritional Information
Here’s the scoop on what’s in each magical slice of this red velvet delight (based on 10 generous servings): roughly 450 calories, 25g fat (5g saturated), 55g carbs, 30g sugar, and 5g protein. Now, let’s be real – exact numbers can vary based on your ingredients and how thick you slice it (no judgment here!). This is dessert, after all – meant to be savored, not scrutinized. Just know you’re getting a treat that’s as rich in flavor as it is in those happy-making memories!
FAQs About Enchanted Red Velvet Cake
I get asked these questions every time I serve this cake – and I love sharing the why behind the magic! Here are the answers to all your red velvet mysteries:
Why is there vinegar in the recipe?
That little teaspoon is our secret weapon! The vinegar reacts with the baking soda to create tiny bubbles that give the cake its signature velvety texture. It doesn’t make the cake taste sour – just impossibly tender. My grandma called it “kitchen chemistry” and she was absolutely right.
Can I use natural food coloring instead?
You can, but the color won’t be as vibrant. Beet powder (about 3 tablespoons) gives a lovely pinkish-red hue, though it adds an earthy flavor. If you don’t mind a more muted color, try reducing the food coloring by half – the cake will still taste magical!
My cake came out dry – what went wrong?
Oh no! This usually means either overmixing the batter (stop as soon as ingredients combine) or overbaking. Set that timer and check at 30 minutes – toothpick should have moist crumbs, not come out clean.
Can I make cupcakes instead?
Absolutely! Fill liners 2/3 full and bake at 350°F for 18-22 minutes. Makes about 24 perfect little bites of red velvet joy!
Share Your Creation
I can’t wait to see your magical red velvet creations! Snap a photo of your cake masterpiece and share it in the comments below – I’d love to hear about your baking adventure. Did your family go crazy for it? Any fun decorating twists you tried? Your stories make my day!
Print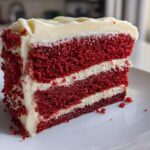
Magical Enchanted Red Velvet Cake Recipe in 10 Simple Steps
- Prep Time: 20 minutes
- Cook Time: 35 minutes
- Total Time: 55 minutes
- Yield: 1 cake (8-10 servings) 1x
- Category: Dessert
- Method: Baking
- Cuisine: American
- Diet: Vegetarian
Description
A rich and vibrant red velvet cake with a hint of cocoa, topped with smooth cream cheese frosting.
Ingredients
- 2 1/2 cups all-purpose flour
- 1 1/2 cups sugar
- 1 tsp baking soda
- 1 tsp salt
- 2 tbsp cocoa powder
- 1 1/2 cups vegetable oil
- 1 cup buttermilk
- 2 large eggs
- 2 tbsp red food coloring
- 1 tsp vanilla extract
- 1 tsp white vinegar
Instructions
- Preheat your oven to 350°F. Grease and flour two 9-inch cake pans.
- Mix flour, sugar, baking soda, salt, and cocoa powder in a bowl.
- Add oil, buttermilk, eggs, food coloring, vanilla, and vinegar. Mix until smooth.
- Pour batter evenly into the prepared pans.
- Bake for 30-35 minutes or until a toothpick comes out clean.
- Let cakes cool before frosting.
Notes
- Use gel food coloring for a richer red color.
- Do not overmix the batter.
- Let cakes cool completely before frosting to prevent melting.
Nutrition
- Serving Size: 1 slice
- Calories: 450
- Sugar: 30g
- Sodium: 300mg
- Fat: 25g
- Saturated Fat: 5g
- Unsaturated Fat: 15g
- Trans Fat: 0g
- Carbohydrates: 55g
- Fiber: 1g
- Protein: 5g
- Cholesterol: 50mg